Introduction
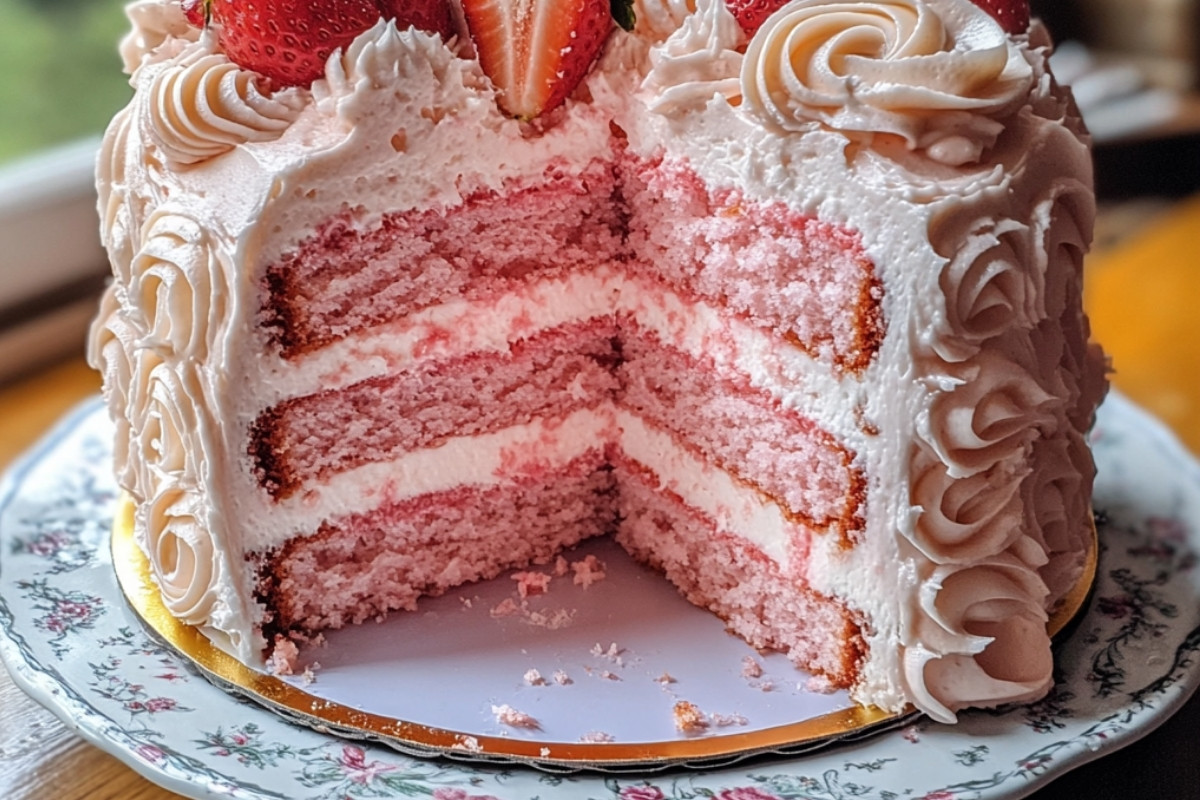
In our busy lives, finding time to create delightful memories can feel like a challenge. However, there’s something truly magical about gathering loved ones around a table filled with sweetness and joy. The Delightful Fluffy Strawberry Dream Cake is more than just a dessert; it’s a sweet celebration of moments shared and love expressed. Each fluffy bite carries the essence of summer, bringing smiles and laughter that make our hearts feel full.
Imagine the aroma of freshly baked cake wafting through your home, drawing your family in like a comforting hug. As you slice into the Delightful Fluffy Strawberry Dream Cake, you’re not just serving dessert but offering a piece of happiness. Whether it’s a birthday, an impromptu gathering, or simply a Friday night treat, this cake has a way of turning the ordinary into something extraordinary, creating lasting memories in the most delicious way.
Why we love this recipe: Fluffy Strawberry Dream Cake
This recipe is all about the light and airy texture that the Fluffy Strawberry Dream Cake brings to the table. The chiffon cake base is delightfully soft, offering a gentle bite that melts in your mouth. Who can resist the combination of fresh strawberries and creamy frosting that complements the cake perfectly? It’s like a bite of spring, refreshing and uplifting, making it perfect for any occasion.
Fluffy Strawberry Dream Cake Made Easy
One of the best aspects of the Fluffy Strawberry Dream Cake is how easy it is to whip up, even on the busiest days. You don’t need to be a master baker to create this stunning dessert—simple steps guide you through the process effortlessly. With just a few common ingredients, you can achieve a beautifully layered cake that will impress your family and friends. Plus, the vibrant color from the strawberries adds a visual charm that everyone appreciates.
Step-by-Step Cooking Instructions
Now that you’ve got all the ingredients and tools ready, it’s time to turn simple components into a light and delightful Fluffy Strawberry Dream Cake. Follow these steps for a stunning cake that both tastes divine and looks like a work of art. Each step will ensure that your cake is fluffy, moist, and infused with the irresistible flavor of fresh strawberries.
Step 1: Prepare Your Baking Pans
Start by lovingly greasing your round cake pans with butter or oil. This step is crucial for avoiding any stickiness later on, which could ruin your cake’s wonderful presentation. Be generous with the grease; every corner should be coated! Then, dust them lightly with flour to create a protective barrier for your cake. This little trick will help it slide out effortlessly once baked.
Step 2: Mix the Flour and Dry Ingredients
In a large mixing bowl, combine the all-purpose flour, baking powder, and a pinch of salt. Whisk these dry ingredients together until they’re evenly combined. This ensures that each bite of your Fluffy Strawberry Dream Cake is laced with perfectly balanced flavors. As you mix, take a moment to inhale the aroma of the flour, filled with the promise of sweet things to come.
Step 3: Beat the Eggs and Sugar
In another bowl, crack open your eggs and add in the sugar. Use a hand mixer or stand mixer to beat them until the mixture becomes pale and fluffy. The transformation happens quickly; watch as the ingredients change into a light, airy fluff that feels heavenly! This step is essential for creating the light texture that defines the Fluffy Strawberry Dream Cake.
Step 4: Fold in the Strawberry Puree
Once your egg mixture is airy, gently fold in the strawberry puree. Use a spatula to combine them without deflating the air you just whipped into the eggs. This is where the magic happens—the vibrant color and flavor of strawberries beautifully meld with the fluffiness. Picture the gorgeous pink hue that will soon grace your cake.
Step 5: Combine Wet and Dry Ingredients
Carefully add the dry mixture to your wet mixture in thirds. Alternate with adding milk, ensuring everything is incorporated gently. The goal here is to maintain that light texture while mixing until just combined—it’s okay if there are a few lumps! Think of every fold as a step closer to the delightful Fluffy Strawberry Dream Cake awaiting you.
Step 6: Pour and Bake
Divide the cake batter evenly between your prepared pans, spreading it out with a spatula. Then, place them in the oven and bake to entice the sweet, warm aroma of baking cake into your kitchen. Keep an eye on the time as they puff up beautifully! The cakes will be ready when a toothpick inserted comes out clean—this is a thrilling moment!
Step 7: Cool and Prepare for Frosting
Once your cakes are out of the oven, allow them to cool in the pans for a short while. After about 10 minutes, gently run a knife around the edges and flip them onto a wire rack to cool completely. This step is a perfect opportunity to savor the delicious scents wafting through your space, setting the stage for your frosting adventure.
Step 8: Make the Frosting
In a bowl, beat together the cream cheese, mascarpone, and powdered sugar until smooth and creamy. This frosting is a dream come true, rich yet light, perfect for your Fluffy Strawberry Dream Cake. Don’t forget to incorporate a splash of vanilla extract, which adds just a hint of complexity.
Step 9: Assemble the Cake
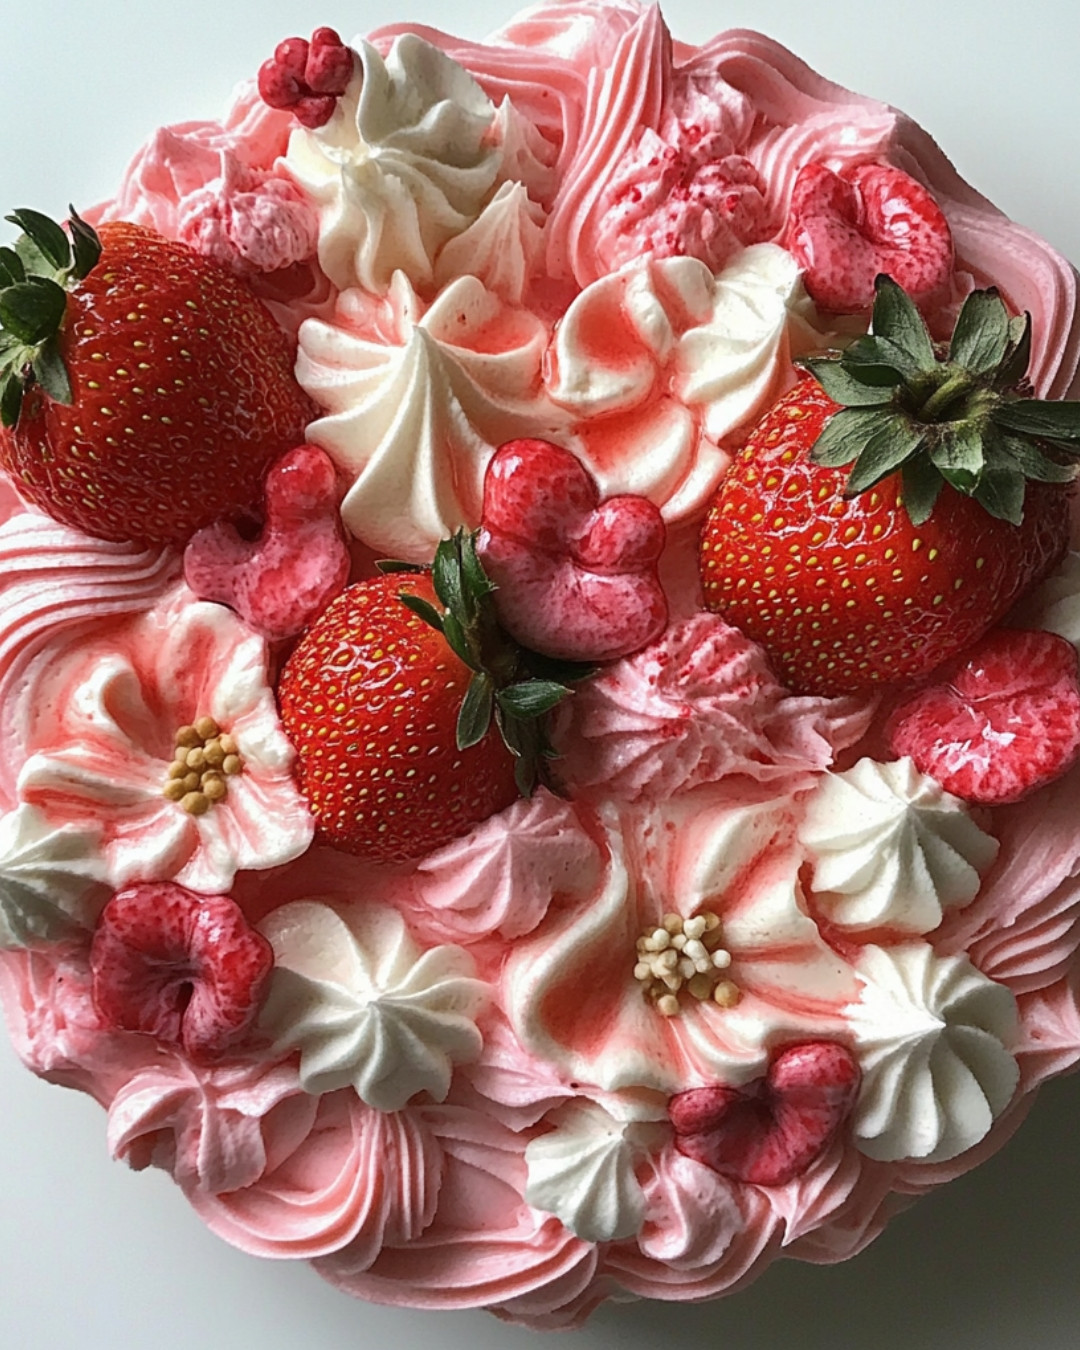
Once your cakes are cooled, place one layer on a serving platter and add a generous layer of frosting on top. Stack the second layer and spread more frosting over the top and sides, creating a beautifully frosted masterpiece. Decorate with fresh strawberries on top for a stunning finish. You are creating an edible centerpiece that will wow everyone!
Step 10: Slice and Serve
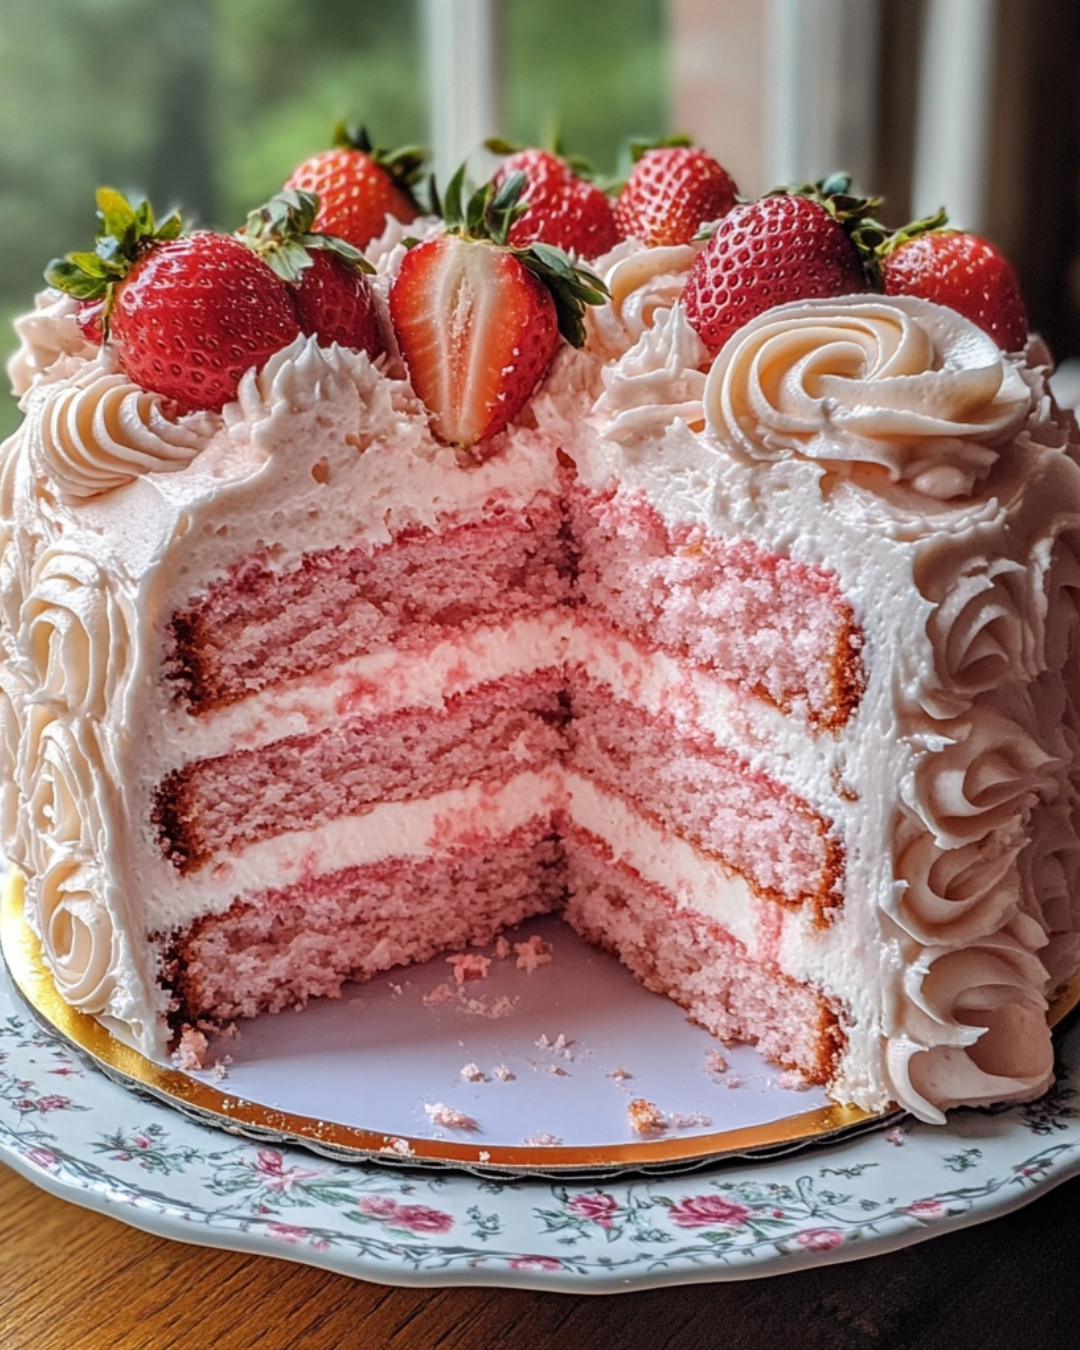
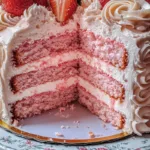
Finally, grab a sharp knife and cut the first slice of your Fluffy Strawberry Dream Cake. As you slice through, observe the beautiful layers and colors that create a feast for the eyes. Serve it up to family and friends, and watch their faces light up with delight.
Notes
Notes on Timing
Timing is essential when creating your Fluffy Strawberry Dream Cake. Ensure that you keep an eye on your baking time, as every oven is unique. Use the toothpick method to ensure the cakes are done perfectly—this will help avoid that dreaded underbaked center.
Recipe Variation Ideas
Feel free to play with flavors! Consider adding a splash of lemon zest to the batter for a citrusy twist or even incorporating chopped strawberries into the batter for additional texture. Each variation can create a unique spin on your Fluffy Strawberry Dream Cake and showcase your creativity in the kitchen.
Storing Your Cake
If you happen to have leftovers (which is rare), store your Fluffy Strawberry Dream Cake in an airtight container in the refrigerator. It keeps beautifully for several days, allowing you to relish in its deliciousness long after it’s baked. Just ensure you let it come to room temperature before serving for the best texture.
Tips for the Perfect Cake
The key to a successful Fluffy Strawberry Dream Cake lies in the ingredients. Use room temperature eggs and milk for optimal melding of flavors. Always measure your flour correctly—using a spoon and leveling it off ensures accuracy. Remember, the joy of baking is in experimentation, so don’t hesitate to make the recipe your own!
Enhancing Your Baking Skills
Baking is as much about the journey as it is about the destination. Embrace the process of measuring, mixing, and creating. As you bake your Fluffy Strawberry Dream Cake, take a moment to appreciate the transformative nature of baking. What starts as separate ingredients becomes a delicious dessert that brings people together.
Emphasizing Presentation
Never underestimate the importance of presentation! As you frost your Fluffy Strawberry Dream Cake, take time to smooth the frosting and create patterns. Adding fresh strawberries on top or drizzling with chocolate adds a touch of elegance. Remember, people eat with their eyes first, and a beautiful cake makes a celebration even more special.
Common Mistakes to Avoid
When baking your Fluffy Strawberry Dream Cake, be cautious of overmixing your batter, which can result in a dense cake. Additionally, watch your baking time; frequent oven door openings can lead to uneven baking. Lastly, avoid skipping the cooling step—you want those cakes to be set and firm before frosting. Following these tips will lead you to cake perfection!
Detailed Ingredients with measures
- 1 ½ cups all-purpose flour
- 1 cup granulated sugar
- ½ cup vegetable oil
- 6 large eggs, separated
- ½ cup milk
- 1 tablespoon baking powder
- 1 teaspoon vanilla extract
- ½ teaspoon salt
- 1 cup strawberries, pureed
- 1 cup heavy whipping cream
- 2 tablespoons powdered sugar
- ½ teaspoon vanilla extract (for whipped cream)
Preparation Time
- Prep Time 30 minutes
- Cook Time 30 minutes
- Total Time 1 hour
- Yield 8 servings
Cook techniques
Preparing the Chiffon Cake
Start by sifting the flour, baking powder, and sugar together to create a light and airy mixture. This step helps ensure that the cake rises well and has a fluffy texture.
Whipping Egg Whites
Whip the egg whites until soft peaks form. Doing this step properly is crucial. The aeration created by the whipped egg whites contributes to the cake’s lightness.
Folding Ingredients
Gently fold the whipped egg whites into the batter. Use a spatula to combine without deflating the egg whites. This technique helps maintain the cake’s airy quality.
Baking the Cake
Bake the chiffon cake in a tube pan to allow for even rising. The pan’s design promotes airflow around the cake, resulting in a beautifully risen dessert.
Cooling the Cake
Invert the cake to cool it completely in the pan. This method prevents it from sinking, ensuring a fluffy and perfect texture.
Serving and Presentation Ideas:
For an enticing presentation, slice the fluffy strawberry cream cake into wedges and garnish each piece with fresh strawberry slices and a dollop of whipped cream. Consider serving it on a colorful platter to contrast the light pink hue of the cake. Additionally, drizzling some strawberry sauce over the cake adds a visually appealing touch. As a pairing suggestion, consider serving the cake alongside a light tea or sparkling wine to enhance the flavors.
People Also Ask :
What is another name for strawberry cake? Strawberry cake is often referred to as strawberry shortcake, particularly when accompanied by whipped cream and fresh strawberries.
What type of cream is best for cakes? Heavy whipping cream is ideal for cakes, as it whips well and holds shapes beautifully, making it perfect for frosting and topping.
What are the ingredients for a strawberry cake? Common ingredients include flour, sugar, eggs, strawberries, baking powder, and heavy cream for frosting.
What is the difference between strawberry cream cake and strawberry shortcake? Strawberry cream cake typically features a fluffy cake base topped with cream and strawberries, whereas strawberry shortcake consists of biscuit-like layers filled with strawberries and cream.
Conclusion
In creating the fluffy strawberry cream cake, you’re not just baking a dessert; you’re crafting a moment of joy and sweetness that can be shared with loved ones. This cake is a delightful way to savor the fresh essence of strawberries, while the lightness of the chiffon adds a unique texture that’s simply irresistible. It’s perfect for birthdays, picnics, or any special occasion. So, as you slice into this beautiful creation, take a moment to appreciate the love and effort that went into it. Have you tried any creative twists with your strawberry cake? Feel free to share your experiences or variations in the comments!
FAQ
Can I use frozen strawberries instead of fresh ones?
Yes, you can use frozen strawberries, but make sure to thaw and drain them well to avoid excess moisture in the cake.
Can I make this cake ahead of time?
Absolutely! You can bake the cake a day in advance. Just ensure it is stored properly to maintain freshness.
Is there a gluten-free version of this cake?
Yes, you can substitute the all-purpose flour with a gluten-free flour blend to make a gluten-free version of the chiffon cake.
How should I store leftover cake?
Store leftover cake in an airtight container in the refrigerator for up to 3 days to keep it fresh.
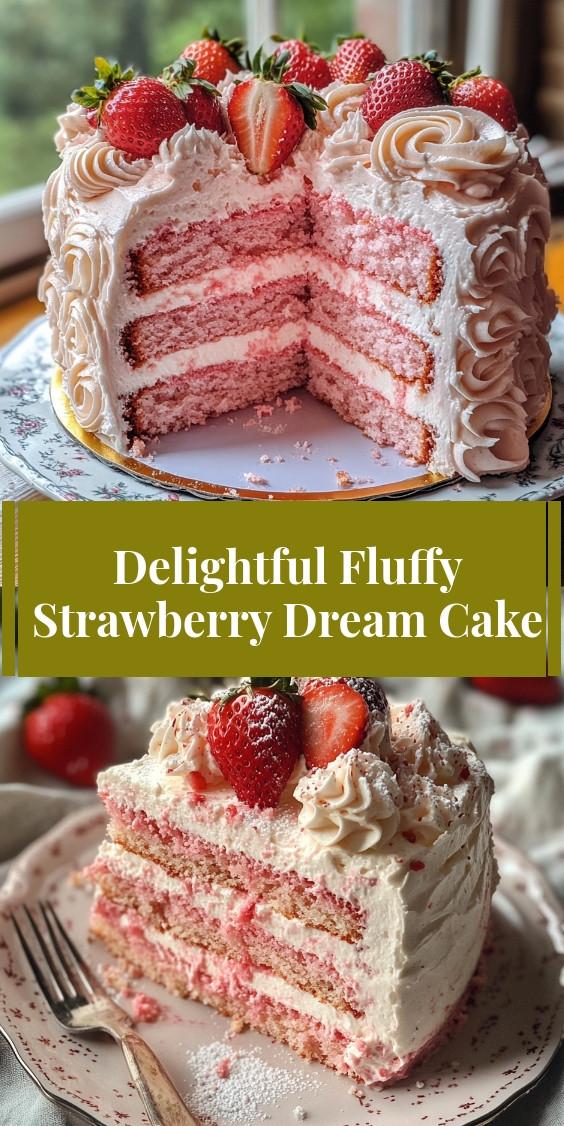
Delightful Fluffy Strawberry Dream Cake
- Total Time: 1 hour
- Yield: 8 servings 1x
Description
In our busy lives, finding time to create delightful memories can feel like a challenge. However, there’s something truly magical about gathering loved ones around a table filled with sweetness and joy. The Delightful Fluffy Strawberry Dream Cake is more than just a dessert; it’s a sweet celebration of moments shared and love expressed. Each fluffy bite carries the essence of summer, bringing smiles and laughter that make our hearts feel full.
Ingredients
- 1 ½ cups all-purpose flour
- 1 cup granulated sugar
- ½ cup vegetable oil
- 6 large eggs, separated
- ½ cup milk
- 1 tablespoon baking powder
- 1 teaspoon vanilla extract
- ½ teaspoon salt
- 1 cup strawberries, pureed
- 1 cup heavy whipping cream
- 2 tablespoons powdered sugar
- ½ teaspoon vanilla extract (for whipped cream)
Instructions
Start by lovingly greasing your round cake pans with butter or oil. This step is crucial for avoiding any stickiness later on, which could ruin your cake’s wonderful presentation. Be generous with the grease; every corner should be coated! Then, dust them lightly with flour to create a protective barrier for your cake. This little trick will help it slide out effortlessly once baked.
In a large mixing bowl, combine the all-purpose flour, baking powder, and a pinch of salt. Whisk these dry ingredients together until they’re evenly combined. This ensures that each bite of your Fluffy Strawberry Dream Cake is laced with perfectly balanced flavors. As you mix, take a moment to inhale the aroma of the flour, filled with the promise of sweet things to come.
In another bowl, crack open your eggs and add in the sugar. Use a hand mixer or stand mixer to beat them until the mixture becomes pale and fluffy. The transformation happens quickly; watch as the ingredients change into a light, airy fluff that feels heavenly! This step is essential for creating the light texture that defines the Fluffy Strawberry Dream Cake.
Once your egg mixture is airy, gently fold in the strawberry puree. Use a spatula to combine them without deflating the air you just whipped into the eggs. This is where the magic happens—the vibrant color and flavor of strawberries beautifully meld with the fluffiness. Picture the gorgeous pink hue that will soon grace your cake.
Carefully add the dry mixture to your wet mixture in thirds. Alternate with adding milk, ensuring everything is incorporated gently. The goal here is to maintain that light texture while mixing until just combined—it’s okay if there are a few lumps! Think of every fold as a step closer to the delightful Fluffy Strawberry Dream Cake awaiting you.
Divide the cake batter evenly between your prepared pans, spreading it out with a spatula. Then, place them in the oven and bake to entice the sweet, warm aroma of baking cake into your kitchen. Keep an eye on the time as they puff up beautifully! The cakes will be ready when a toothpick inserted comes out clean—this is a thrilling moment!
Once your cakes are out of the oven, allow them to cool in the pans for a short while. After about 10 minutes, gently run a knife around the edges and flip them onto a wire rack to cool completely. This step is a perfect opportunity to savor the delicious scents wafting through your space, setting the stage for your frosting adventure.
In a bowl, beat together the cream cheese, mascarpone, and powdered sugar until smooth and creamy. This frosting is a dream come true, rich yet light, perfect for your Fluffy Strawberry Dream Cake. Don’t forget to incorporate a splash of vanilla extract, which adds just a hint of complexity.
Once your cakes are cooled, place one layer on a serving platter and add a generous layer of frosting on top. Stack the second layer and spread more frosting over the top and sides, creating a beautifully frosted masterpiece. Decorate with fresh strawberries on top for a stunning finish. You are creating an edible centerpiece that will wow everyone!
Finally, grab a sharp knife and cut the first slice of your Fluffy Strawberry Dream Cake. As you slice through, observe the beautiful layers and colors that create a feast for the eyes. Serve it up to family and friends, and watch their faces light up with delight.
Notes
Notes on Timing
Timing is essential when creating your Fluffy Strawberry Dream Cake. Ensure that you keep an eye on your baking time, as every oven is unique. Use the toothpick method to ensure the cakes are done perfectly—this will help avoid that dreaded underbaked center.
Recipe Variation Ideas
Feel free to play with flavors! Consider adding a splash of lemon zest to the batter for a citrusy twist or even incorporating chopped strawberries into the batter for additional texture. Each variation can create a unique spin on your Fluffy Strawberry Dream Cake and showcase your creativity in the kitchen.
Storing Your Cake
If you happen to have leftovers (which is rare), store your Fluffy Strawberry Dream Cake in an airtight container in the refrigerator. It keeps beautifully for several days, allowing you to relish in its deliciousness long after it’s baked. Just ensure you let it come to room temperature before serving for the best texture.
- Prep Time: 30 minutes
- Cook Time: 30 minutes

